The Vertical Kerb Tools can be used to change the height of the kerb along the length of the road.
To access the tools for modifying the kerb levels, click the ![]() button.
button.
Note: If you are adding a driveway or road crossing-point, a Drop Kerb Item is usually preferable.
Below is an example of vertical kerb transition:
Select which road kerb you want to edit. As you move the mouse over the drawing the kerb line closest to the cursor will highlight. Click the mouse to select the kerb you want to add a vertical transition on.
A window will appear prompting for the properties of the vertical change.
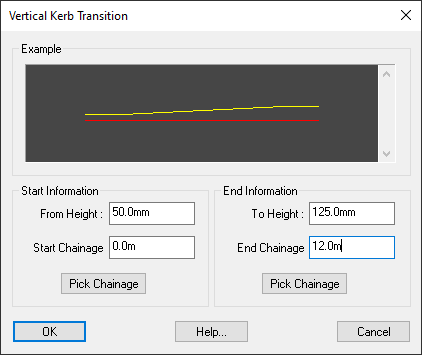
Specify the chainage range over which the vertical change should occur. You can use the Pick... buttons to select the start and end chainages straight off the drawing.
Here you can enter a new kerb height at the specified chainages.
Select this button to edit a vertical transition that has been added to a road kerb. The closest item will highlight:
Click the mouse to edit the highlighted item.
After selecting the vertical transition you will see the Vertical Kerb Transition window as described above in the Create Vertical Transition section.
Select this button to delete a vertical item from a road kerb.
The closest item will highlight, click the mouse to delete the highlighted item.